In this article, we will focus on how to install WordPress on Ubuntu 18.04. WordPress is a free and open-source content management platform based on PHP and MySQL. It’s the world’s leading blogging and content management system with a market share of over 60%, dwarfing its rivals such as Joomla and Drupal. WordPress was first released on May 27th, 2003 and powers over 60 million websites to date! So powerful and popular it has become that some major brands/companies have hosted their sites on the platform. These include Sony Music, Katy Perry, New York Post, and TED.
Why WordPress is so Popular?
So why is WordPress this popular? Let’s briefly look into some of the factors that have led to the immense success of the platform.
Ease of Use
WordPress comes with a simple, intuitive and easy to use dashboard. The dashboard doesn’t require any knowledge in web programming languages like PHP, HTML5, and CSS3 and you can build a website with just a few clicks on a button. In addition, there are free templates, widgets, and plugins that come with the platform to help you get started with your blog or website.
Cost Effectiveness
WordPress drastically saves you the agony of having to pay developer tonnes of cash to develop your website. All you have to do is to get a free WordPress theme or purchase one and install it. Once installed, you have the freedom to deploy whatever features that suit you and customize a myriad of features without running much code. What’s more, is that it takes a much shorter time to design your site that coding from scratch.
WordPress Sites are Responsive
WordPress platform is inherently responsive and you do not have to stay awake worrying about your sites being able to fit across multiple devices. This benefit also adds to your site being ranked higher in Google’s SEO score!
WordPress is SEO Ready
WordPress is built using well-structured, clean and consistent code. This makes your blog/site easily indexable by Google and other search engines thereby making your site rank higher. In addition, you can decide which pages rank higher or alternatively use SEO plugins like the popular Yoast plugin which enhances your site’s ranking on Google.
Easy to Install and Upgrade
It’s very easy to install WordPress on Ubuntu or any other operating system. There are so many open-source scripts to even automate this process. Many hosting companies provide a one-click install feature for WordPress to get you started in no time.
Matching infrastructure at centron
Ubuntu servers without your own hardware: ccloud³ VMs with full root access from €3.12 per month, billed by the hour and ready in seconds. Rent a cloud server →
Install WordPress on Ubuntu
Before we begin, let’s update and upgrade the system. Login as the root user to your system and update the system to update the repositories.
apt update && apt upgradeOutput:
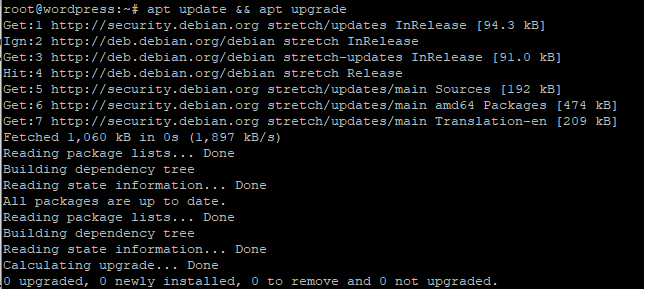
Next, we are going to install the LAMP stack for WordPress to function. LAMP is short for Linux Apache MySQL and PHP.
Step 1: Install Apache
Let’s jump right in and install Apache first. To do this, execute the following command.
apt install apache2Output:
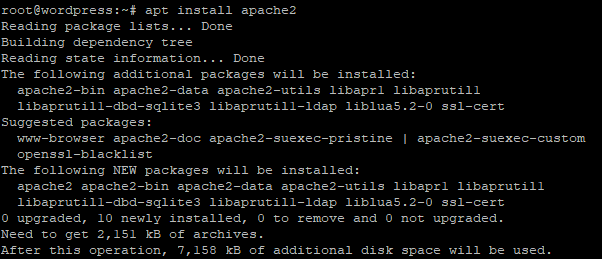
To confirm that Apache is installed on your system, execute the following command.
systemctl status apache2Output:
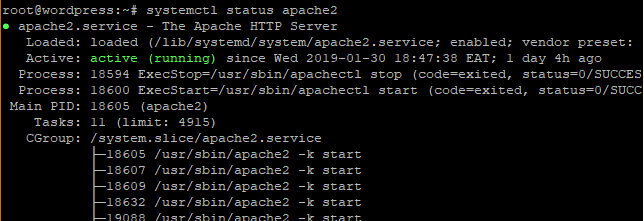
To verify further, open your browser and go to your server’s IP address.
https://ip-addressOutput:
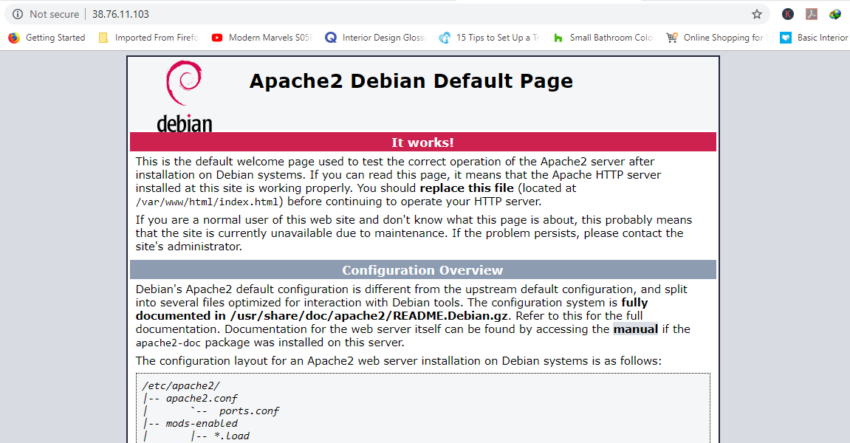
Step 2: Install MySQL
Next, we are going to install the MariaDB database engine to hold our WordPress files. MariaDB is an open-source fork of MySQL and most of the hosting companies use it instead of MySQL.
apt install mariadb-server mariadb-clientOutput:
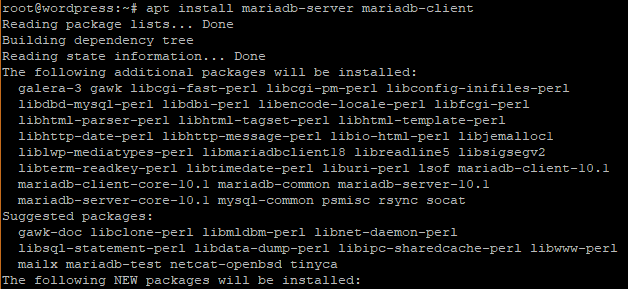
Let’s now secure our MariaDB database engine and disallow remote root login.
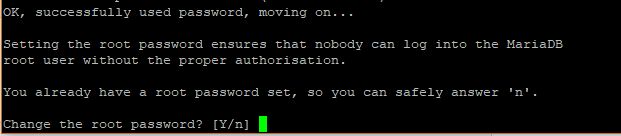
mysql_secure_installationThe first step will prompt you to change the root password to login to the database. You can opt to change it or skip if you are convinced that you have a strong password. To skip changing type n.
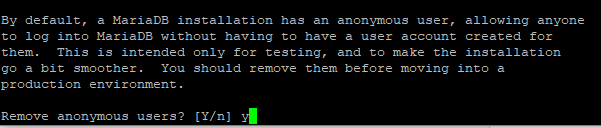
For safety’s sake, you will be prompted to remove anonymous users. Type Y.
Next, disallow remote root login to prevent hackers from accessing your database. However, for testing purposes, you may want to allow log in remotely if you are configuring a virtual server.

Next, remove the test database.

Finally, reload the database to effect the changes.

Step 3: Install PHP
Lastly, we will install PHP as the last component of the LAMP stack.
apt install php php-mysqlOutput:
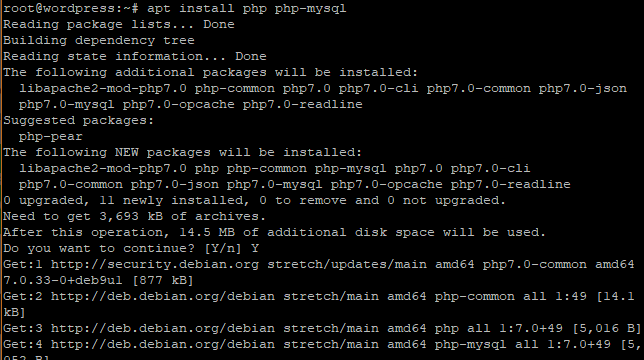
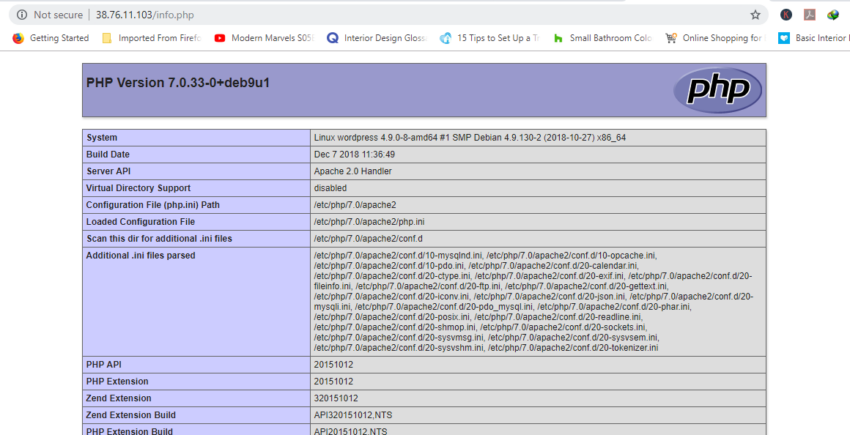
To confirm that PHP is installed, create an info.php file at /var/www/html/ path.
vim /var/www/html/info.phpAppend the following lines:
<?php
phpinfo();
?>
Save and Exit. Open your browser and append /info.php to the server’s URL.
https://ip-address/info.phpOutput:
Step 4: Create WordPress Database
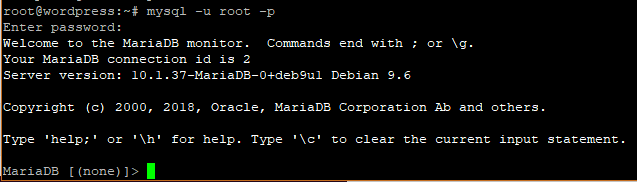
Now it’s time to log in to our MariaDB database as root and create a database for accommodating our WordPress data.
mysql -u root -pOutput:
Create a database for our WordPress installation.
CREATE DATABASE wordpress_db;Output:

Next, create a database user for our WordPress setup.
CREATE USER 'wp_user'@'localhost' IDENTIFIED BY 'password';Output:

Next, grant the user permissions to access the database.
GRANT ALL ON wordpress_db.* TO 'wp_user'@'localhost' IDENTIFIED BY 'password';Output:

Great, now you can exit the database.
FLUSH PRIVILEGES;

Exit;
Step 5: Install WordPress CMS
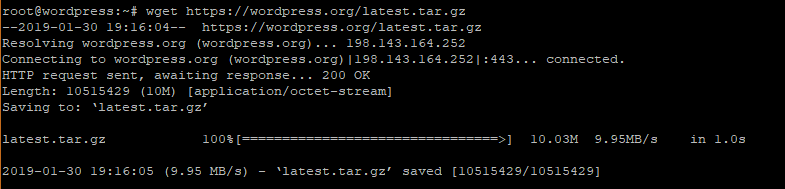
Go to your temp directory and download the latest WordPress File.
cd /tmp && wget https://wordpress.org/latest.tar.gzOutput:
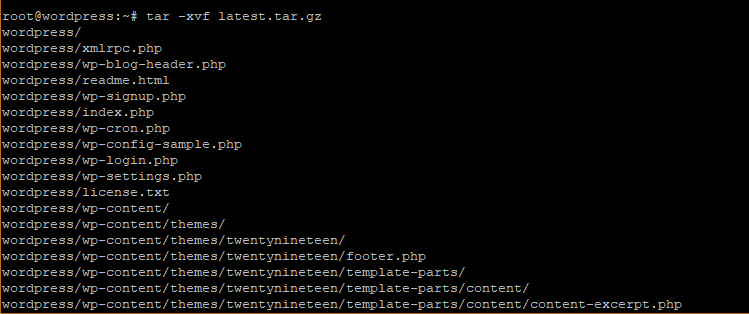
Next, uncompress the tarball which will generate a folder called “wordpress”.
tar -xvf latest.tar.gzCopy the wordpress folder to /var/www/html/ path.
Output:
cp -R wordpress /var/www/html/Run the command below to change ownership of ‘wordpress’ directory.
chown -R www-data:www-data /var/www/html/wordpress/Change file permissions of the WordPress folder.
chmod -R 755 /var/www/html/wordpress/Create ‘uploads’ directory.
mkdir /var/www/html/wordpress/wp-content/uploadsFinally, change permissions of ‘uploads’ directory.
chown -R www-data:www-data /var/www/html/wordpress/wp-content/uploads/Open your browser and go to the server’s URL. In my case it’s:
https://server-ip/wordpressYou’ll be presented with a WordPress wizard and a list of credentials required to successfully set it up.
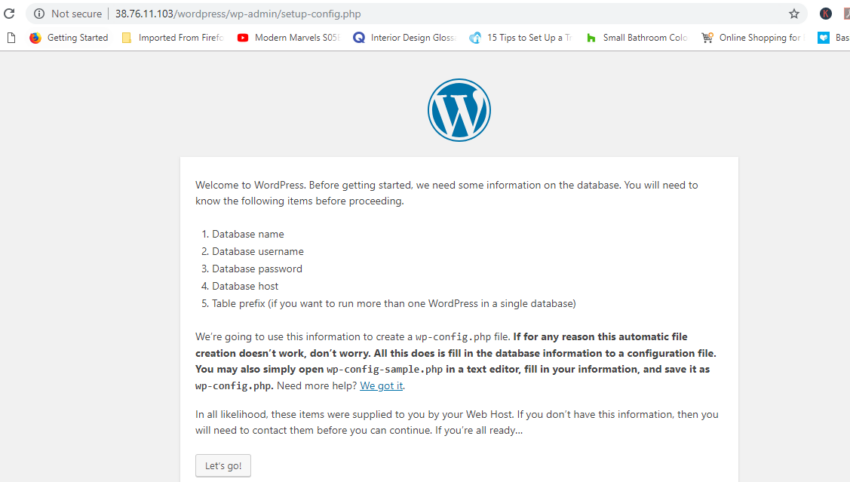
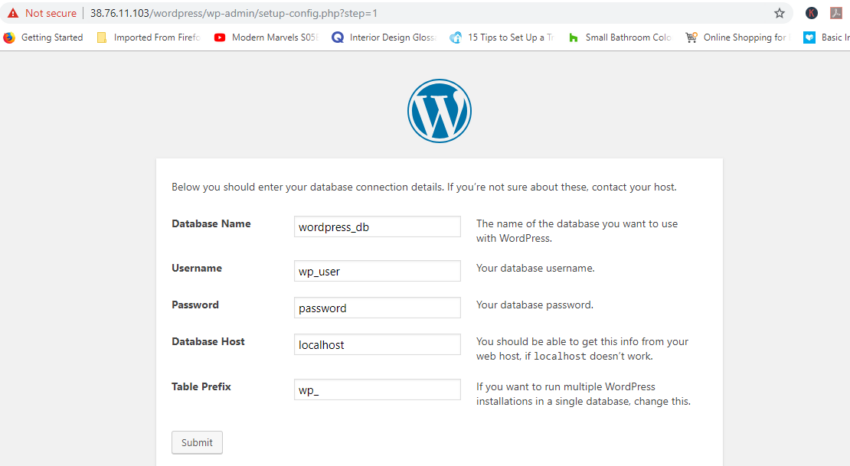
Fill out the form as shown with the credentials specified when creating the WordPress database in the MariaDB database. Leave out the database host and table prefix and hit ‘Submit’ button.
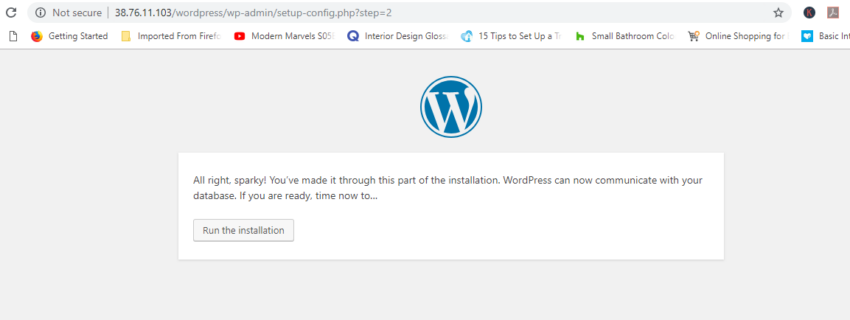
If all the details are correct, you will be given the green light to proceed. Run the installation.
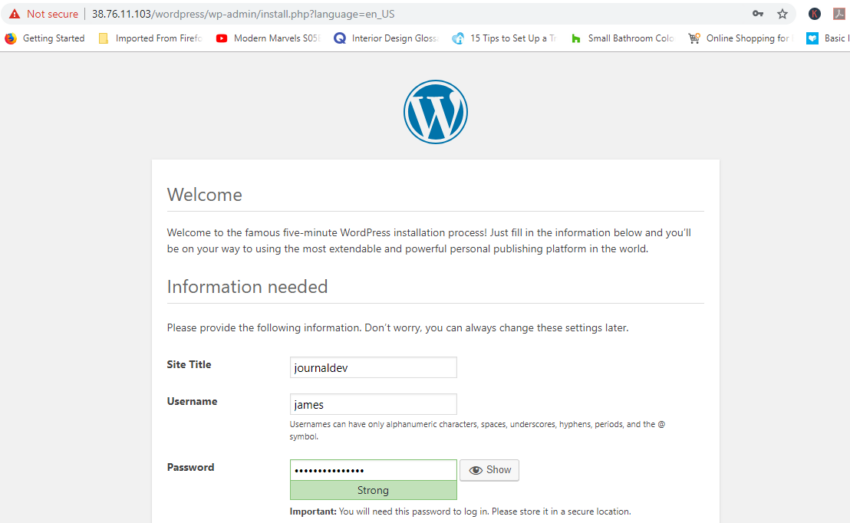
Fill out the additional details required such as site title, Username, and Password and save them somewhere safe lest you forget. Ensure to use a strong password.
Scroll down and hit ‘Install WordPress’. If all went well, then you will get a ‘Success’ notification as shown.
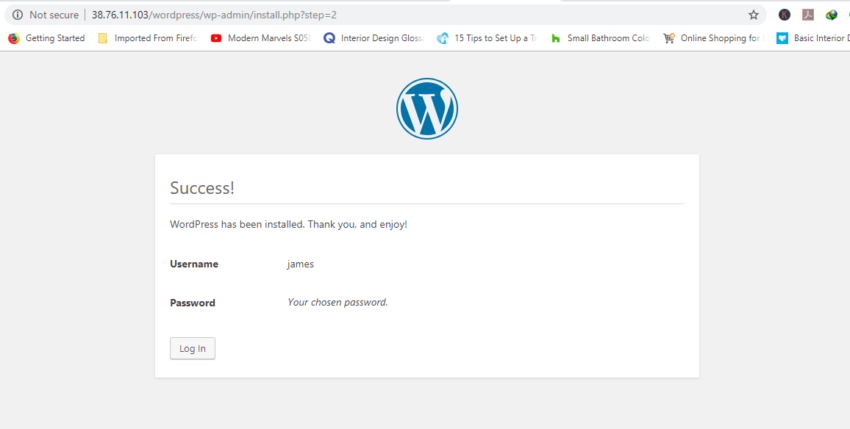
Click on the ‘Login’ button to access the login page of your fresh WordPress installation.
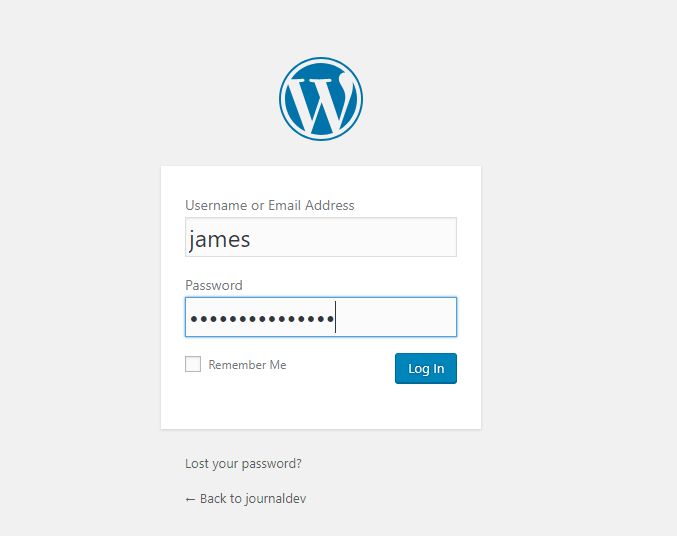
Provide your login credentials and hit ‘Login’.
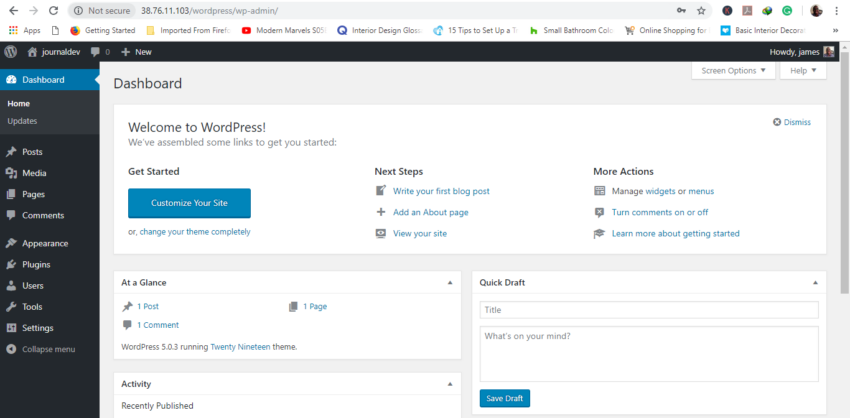
Conclusion
Congratulations! You’ve successfully reached the WordPress dashboard, where you can start building your first blog or website. Now, explore the various features, plugins, and themes to customize your site and bring your ideas to life!
Testen Sie Ihr Setup auf ccloud³
Registrieren Sie sich in der ccloud³ und erhalten Sie 200 € Startguthaben für Ihr Projekt – z. B. für eine PostgreSQL-VM mit automatischen Backups.