Steps to Host a Web Server on Android
Let’s get right into the steps to host a web server on our Android devices now.
1. Install Termux and Hacker’s Keyboard
First, we will need two Applications before we continue on: Termux (which will help us issue commands) and Hacker’s Keyboard (which will help us to use keys like Ctrl, Esc, Alt which are usually not available on standard Android Keyboards).
You can get Termux from their official website or from Google Playstore. 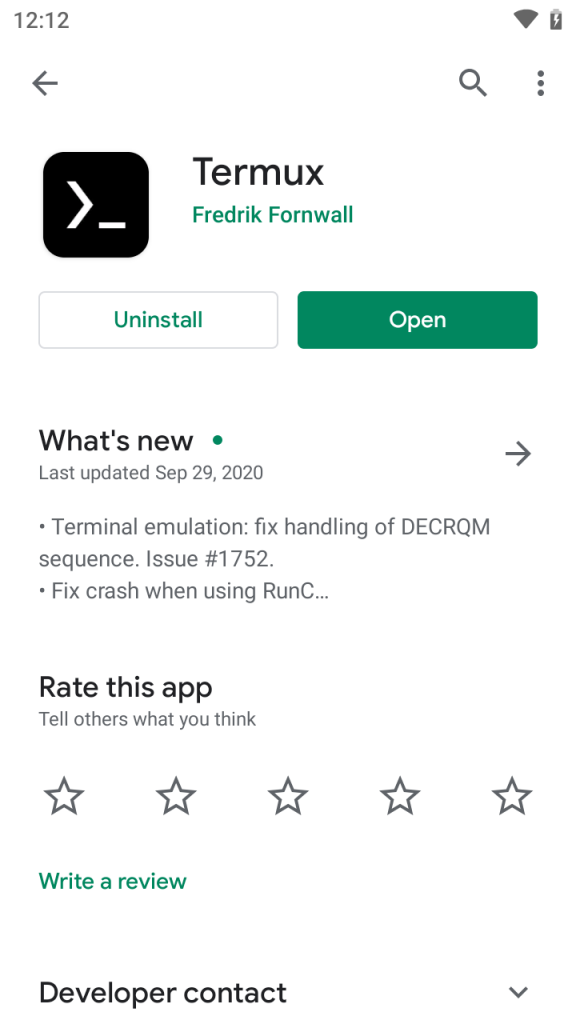
You can install Hacker’s Keyboard as well for better navigation within the Termux window.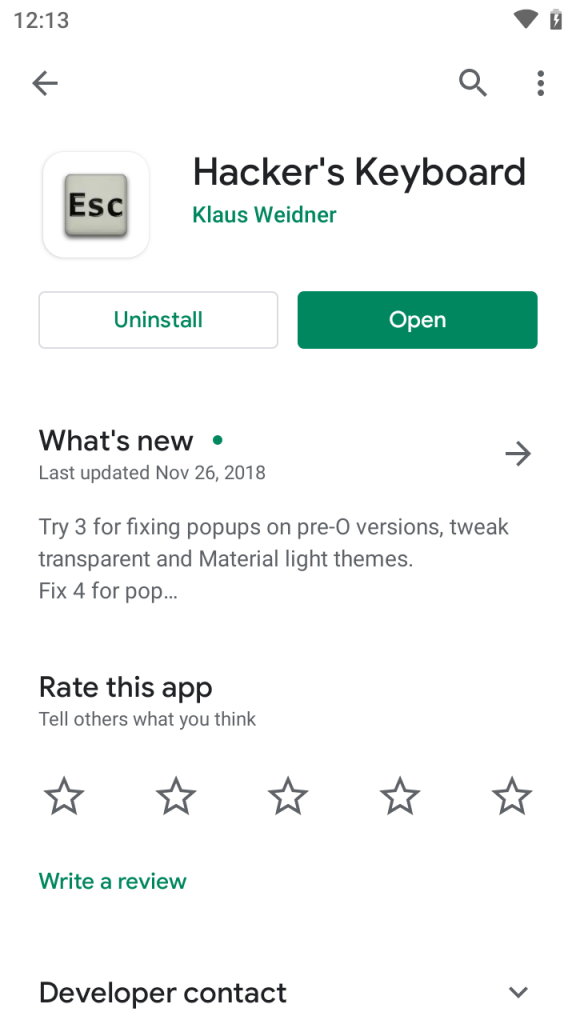
2. Install Packages on Termux
Now we need to install some of the packages we require on Termux. Open the app and type in the following commands:
$ pkg update && pkg upgradeThis should upgrade our current system. Next up we will need to install some necessary packages with:
$ pkg install apache2 git neovim wget curl3. Connect to Android Device via SSH (Optional)
Note that this section is completely optional. Here we will install some additional packages just to aid us during the whole process:
$ pkg install openssh neofetch fish nmapFirst let’s enable SSH so that we can connect to our phone via our PC by:
$ sshdNext, check your username and IP with:
$ whoami
$ ifconfig wlan0
Now we need to check which port the SSH service is running. You can check it with:
$ nmap -sV 127.0.0.1Once you have the Port Number, switch over to your PC and connect to your device with:
$ ssh -p @4. Start the Webserver on Android
Now, we can start our server with:
$ apachectlBy default, the webpage is hosted on port 8080.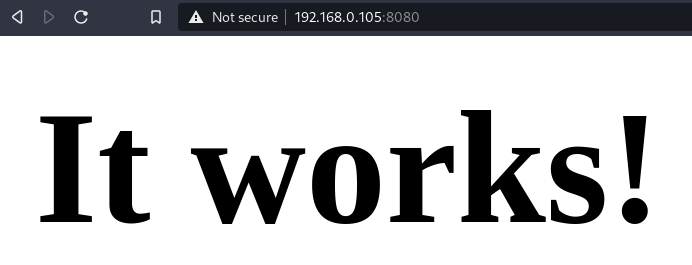
To edit the message, we need to change the index.html file with:
$ vi $PREFIX/share/apache2/default-site/htdocs/index.html5. Port Forwarding with Ngrok
First, we need to get the compressed file from the official website with:
$ wget https://bin.equinox.io/c/4VmDzA7iaHb/ngrok-stable-linux-arm64.tgzUnzip the file with:
$ tar -xvzf ngrok-stable-linux-arm64.tgzFinally, with our webserver still running, type:
$ ./ngrok http 8080Matching infrastructure at centron
No hardware needed to follow along: ccloud³ VMs with full root access start at €3.11 per month, billed by the hour and ready in seconds. Rent a cloud server →
Conclusion
Thus, in this way, we can use our Android phones as web servers. On non-rooted phones, you can host a webserver on any of the higher ports while on rooted phones you can use the default port 80.
Test your setup on ccloud³
Sign up for ccloud³ and receive €200 starting credit for your project.