
Node JS Environment Setup – Tutorial
In this post, we will discuss about “How to setup Node JS Base Environment” in Windows OS and Mac OS X.
Node JS Base Environment Setup on Windows
Access Node JS Official Website “https://nodejs.org/en/”
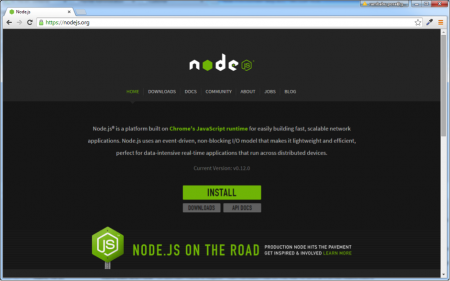
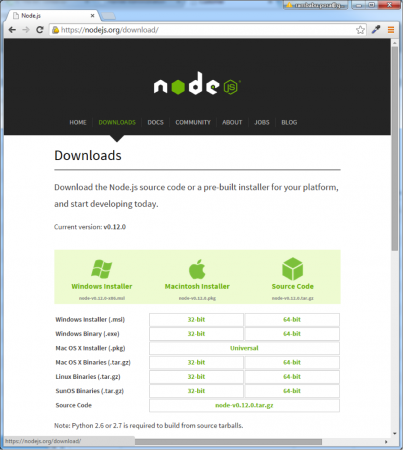
Here we can find “INSTALL” button. If we want to download latest stable version, we can click on this button. If we want to select Node JS Platform based on our Hardware and Software requirements like Windows 32bit or 64bit OS, please click on “Downloads” button and select your required Node JS version to download.
Please click on “INSTALL” button to download latest Node JS Platform Version 0.12.0, this is the latest version as of writing this post.
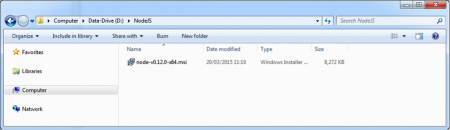
Please double click on “node-v0.12.0-x64.msi” file to start Installation process.
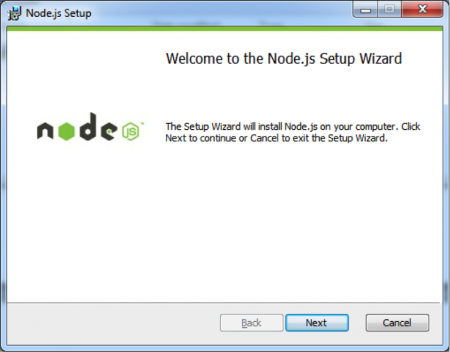
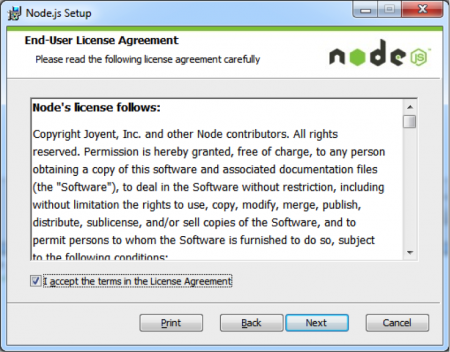
Click on “Next” Button. Accept License Agreement and Click on “Next” Button.
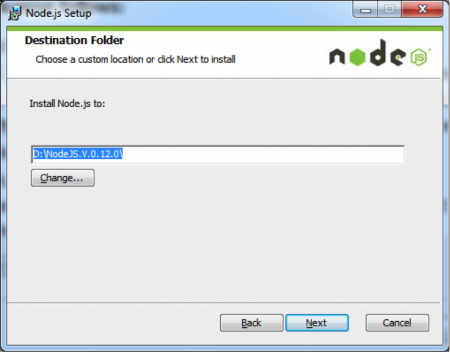
Choose your required location to install.
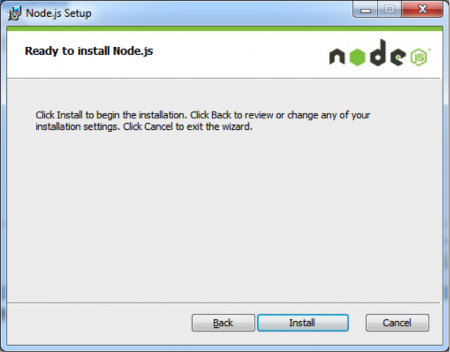
Choose Default values and click on “Install” Button.
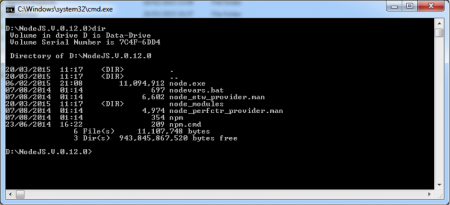
Open Node JS Platform Home in your Explorer.
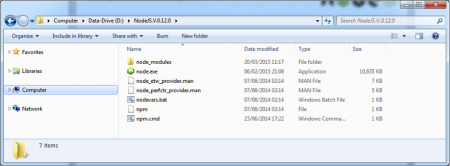
Here we can observe node.exe and npm.cmd files and also “node_modules” folder. Now onwards, we will refer the following names for easier discussion purpose NODSJS_HOME= D:\NodeJS.V.0.12.0 NODEJS_MODULES= D:\NodeJS.V.0.12.0\node_modules NODEJS_NPM= D:\NodeJS.V.0.12.0\node_modules\npm
NOTE:
- If we use Windows Installer like “node-v0.12.0-x64.msi” or exe file then we doesn’t need to do anything to SYSTEM variables. This installer will take care of everything.
- If we use other formats or if these are missing in your system environment variables, please add the following variables to SYSTEM properties; PATH=C:\Users\[username]\AppData\Roaming\npm;D:\NodeJS.V.0.12.0\;%PATH%
Open Command prompt at NODSJS_HOME or anywhere like D:\
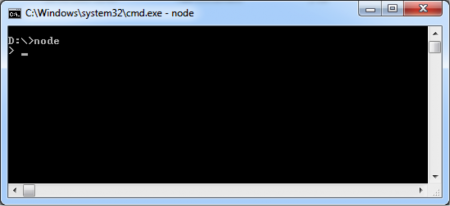
Run “node.exe” command
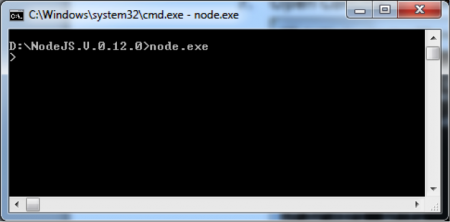
Now we are able to see “>” prompt, that means our Node JS Base Environment Setup is done.
Check Node JS Version: Use the following command to know your Node JS Version from Command prompt. node –v

Exit from Node CLI: We can use “process.exit()” command to exit from Node CLI.
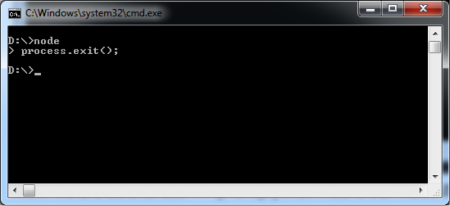
We can also use Ctrl + D OR use Ctrl + C Twice to exit from Node CLI.
Node.js Base Environment Setup on Mac OS X
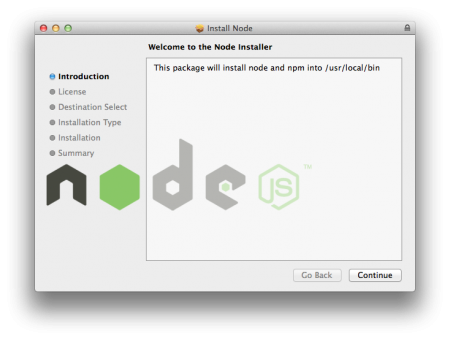
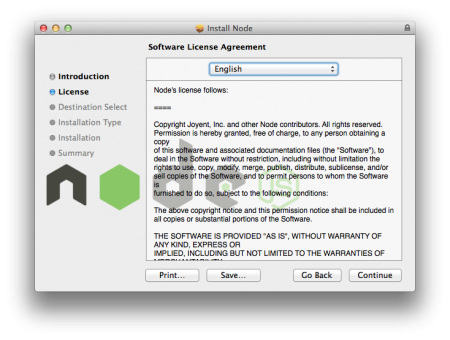
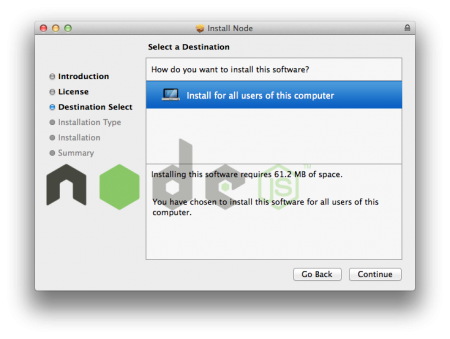
For Mac OS X, download the pkg installer and run it. You will get below screens in order.
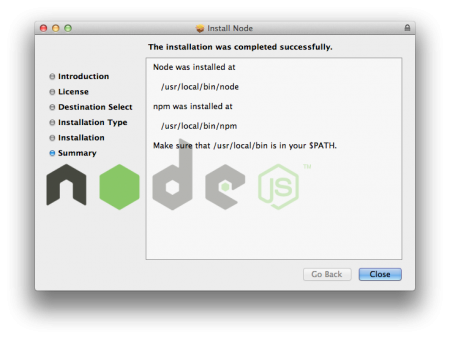
As you can see from above image, /usr/local/bin should be in the PATH variable. Usually it’s there by default but you can check it using below command.
pankaj:~ pankaj$ echo $PATH
/usr/bin:/bin:/usr/sbin:/sbin:/usr/local/bin:/Library/Java/JavaVirtualMachines/jdk1.7.0_60.jdk/Contents/Home/bin:/usr/local/apache-maven-3.0.5/bin:
pankaj:~ pankaj$
Below are some sample commands to check the version and start Node CLI and exit it.
pankaj:~ pankaj$ node -v
v0.12.1
pankaj:~ pankaj$ node
> process.exit();
pankaj:~ pankaj$ node
>
(^C again to quit)
>
pankaj:~ pankaj$
Before starting some simple Node JS examples, we will discuss about Major Components of Node JS Platform in next post.
